

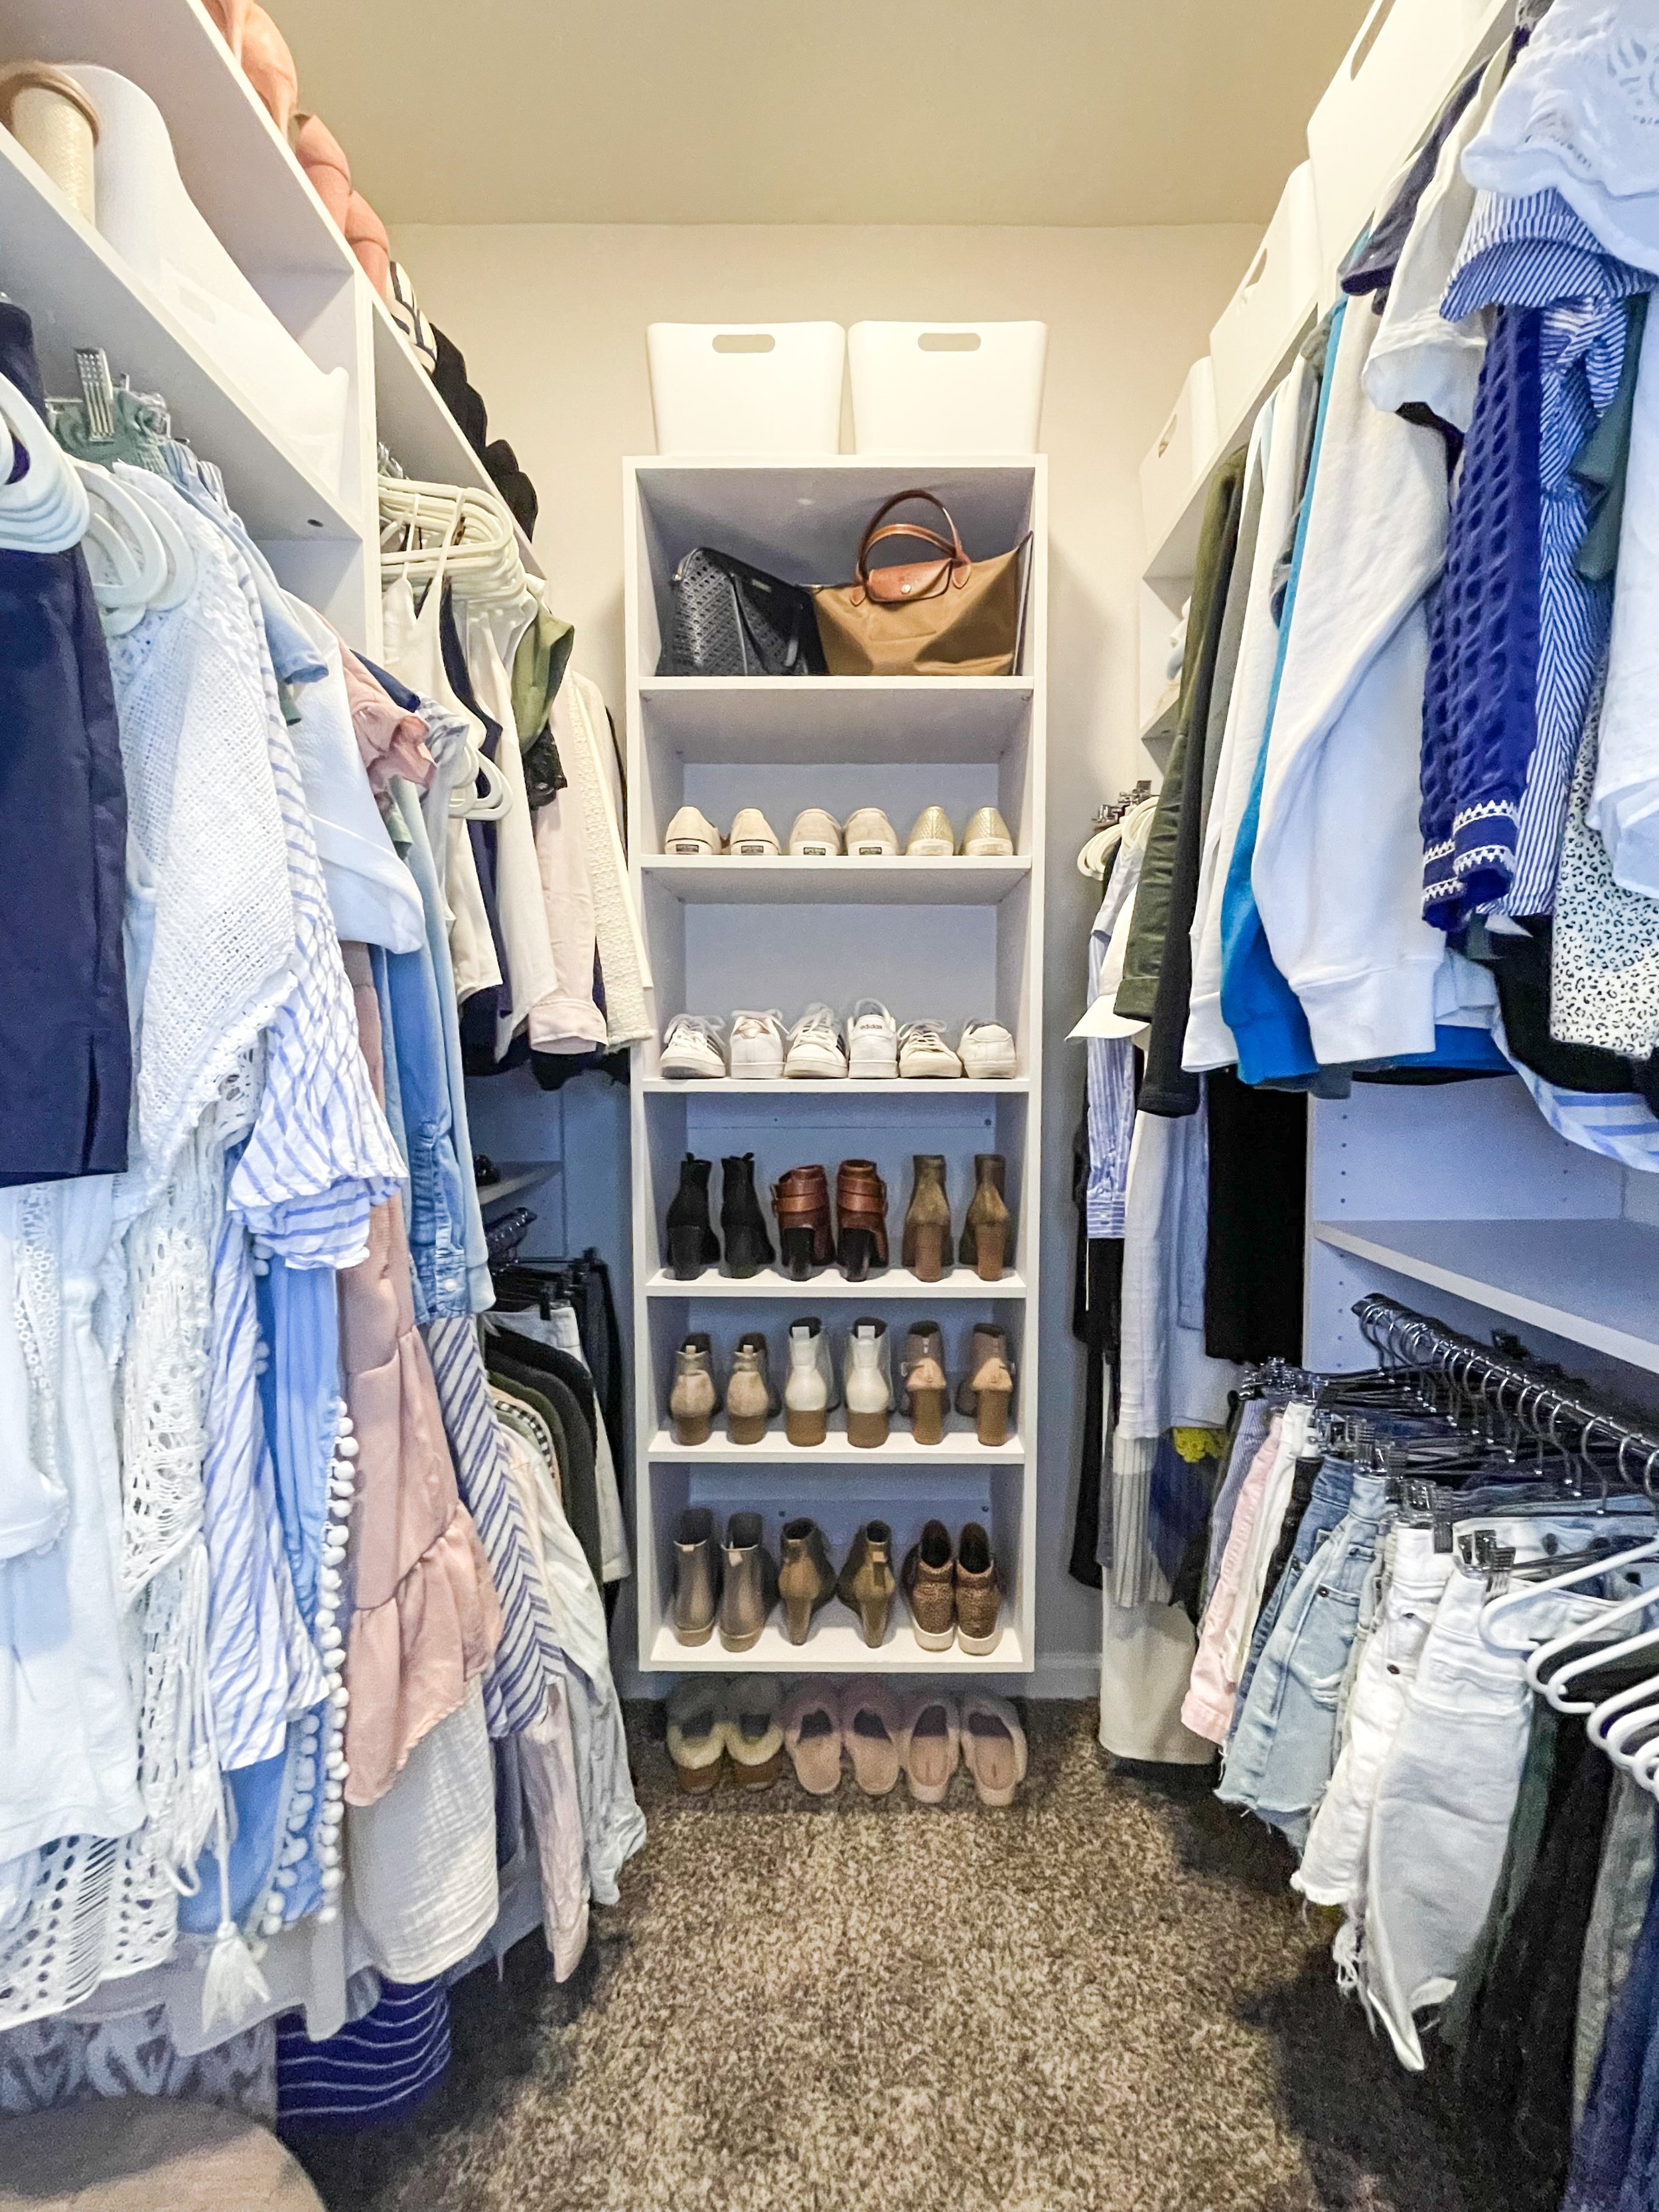
My Walk-In Closet Organization
This may very well be my favorite organization project in the new place yet. And for a few reasons: 1) it was one of the few spaces I never got to organize in my last apartment 2) it’s the most space in a closet I’ve ever personally had and 3) I really put a lot of thought into it.
I also put a bit of money into it, if I’m gonna be honest. I’ve had the same sets of velvet hangers that I picked up in HomeGoods over the years. They didn’t all match and were starting to show wear and tear. It was time to finally invest in some news ones and I decided to go in a little different direction.
A clean look was important to me so I kept everything pretty simple and streamlined. I’d love to walk you through what products I chose and why with some possible alternatives for your style mixed in.
Getting right to it, there are my top 5 closet organization tips as a professional organizer:
Psst I posted a TikTok with a short version of this exact list and for a breakdown of my closet organization, refer back to my last blog post!
FYI! I’m releasing a four part masterclass on closet organization in early May and if you’d like to be one of the first to access it, you can find out more info and pre-buy it here :)
HANGERS
Ok, so moving onto my little labor of love, let’s first talk about hangers. I think slimline velvet hangers are great and still the best, most cost effective way to go. These sets from Amazon are the ones I usually use for my clients because the quality is good and they’re some of the most inexpensive on the market.
I’ve just personally had them for so long now that I really wanted a change but still thin to save space (and not overly expensive). I found these rubberized ones from Target that were perfect. They’re lightweight but sturdy - for example, when you swivel the hook part, it doesn’t feel like it’s going to break like a lot of the velvet ones do.

PS they come in black too!
When it comes to bottoms, I didn’t have enough for the skirts and dress pants I owned as it was let alone for any of the shorts that I decided I - wait for it - actually have space to hang now. So I started fresh with a 50 pack of these from Amazon. One of my other favorite uses for hangers with clips? To easily hang off the shoulder tops and dresses (and even tube tops!).
If you were thinking about it, this is one instance where I wouldn’t recommend the velvet clips you can add on to your current hangers. They’re difficult to get on and off and easy to break. They do, however, make velvet hangers with metal clips that’ll do the trick if you’d like new skirt/pant hangers to match your regular velvet ones. Psst they look like this:

Next up is another whole set of clothing that I’ve never had space to hang … jeans. They’ve always been shoved (file folded, though, of course) in a drawer but now? It’s their time to shine.
I’m convinced that open ended pant hangers are the ONLY way to go. They’re relatively new but becoming easier to find, usually in black but I wanted ones to match the white hangers so found these on Amazon.
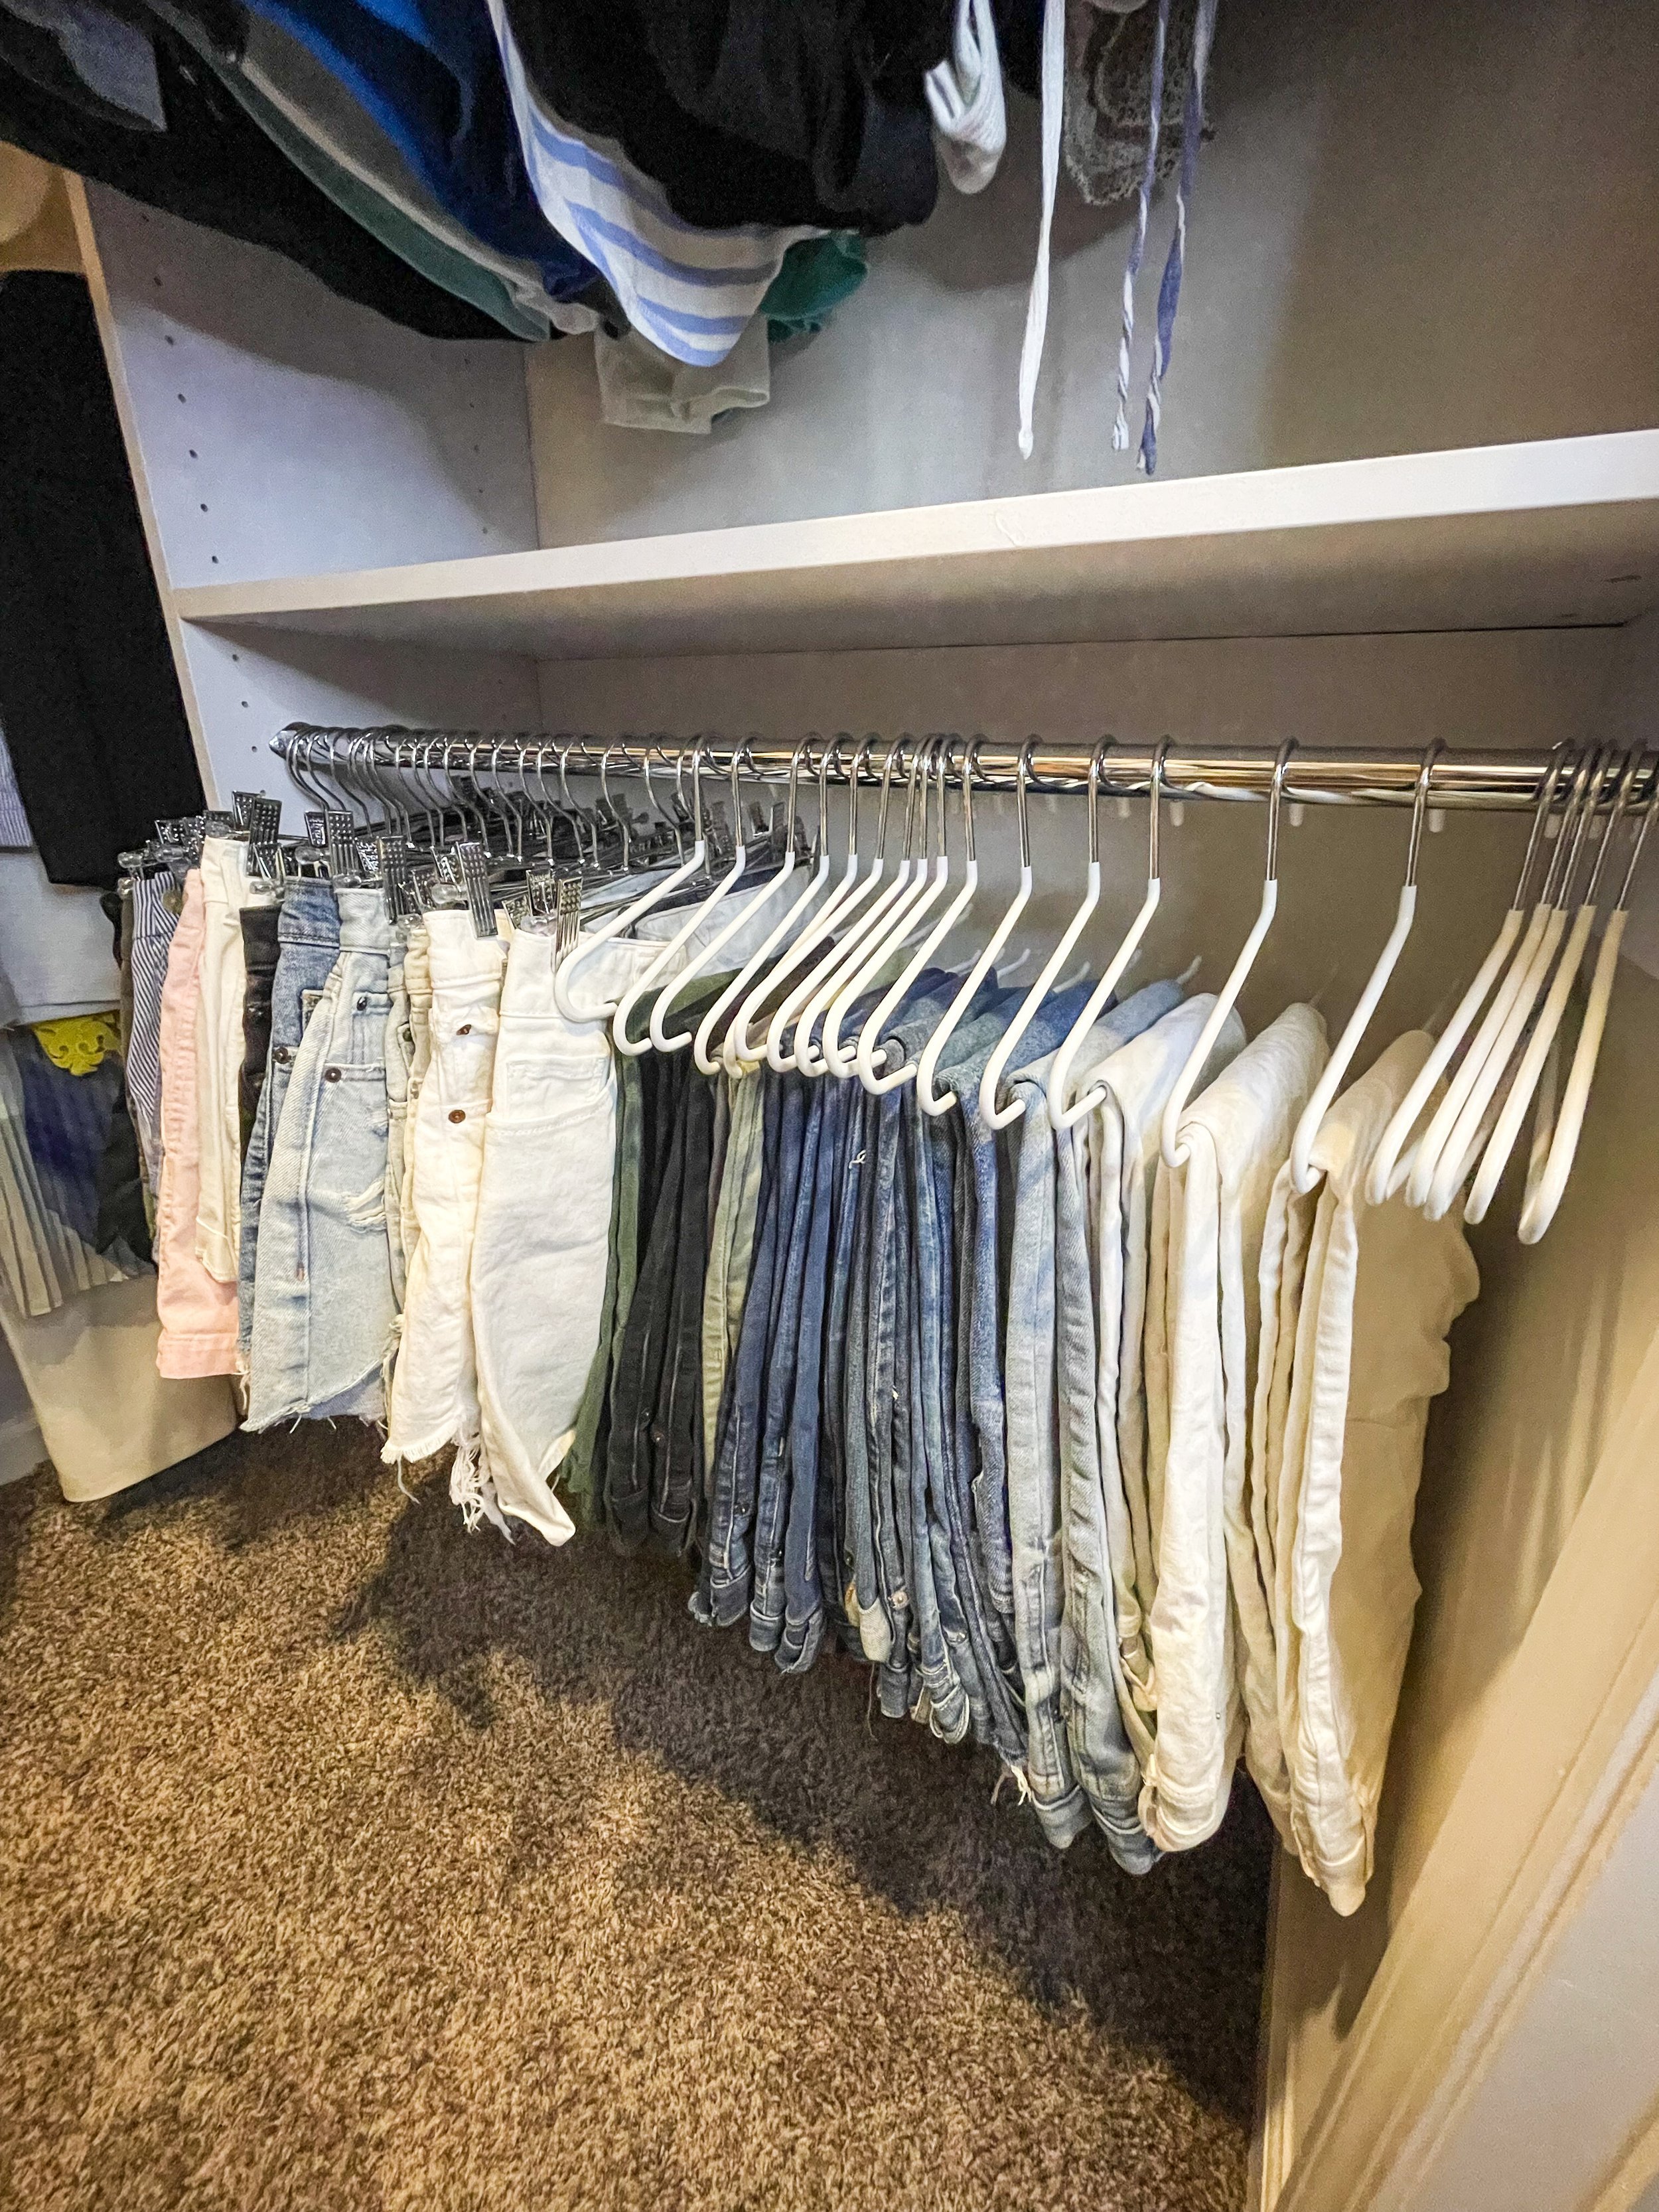
One oversight I missed was that they open to the back as opposed to the front. But A you could turn the hangers around if you wanted to or B you could just remove the whole hanger to grab the pants. I do B anyway because I always move the empty hangers off to one side of the rod anyway (more on this in a min*).
But if you’re looking for the convenience of just grabbing the pants off the hanger, most of them are made for that. See exhibit A :)
*Now about that hanger method I mentioned. I posted a reel a long, long time ago demonstrating it and I still stand by it. Basically the reason for it is to avoid that mess of tangled hangers, saving you time looking for empty ones while putting clothes away, and letting you see exactly how many you have at any given time.
BINS
I went with my usual basic white bins that I use for almost every single Sort and Sweet client. These are my GO TO bins especially when you need a lot and/or you’re on a budget. They’re super inexpensive and come in 4 sizes (XS, small, medium and large) so they fit virtually any space. Most of mine are the large size which runs 12 inches deep vertically which works for most builder grade/cookie cutter shelving depths.
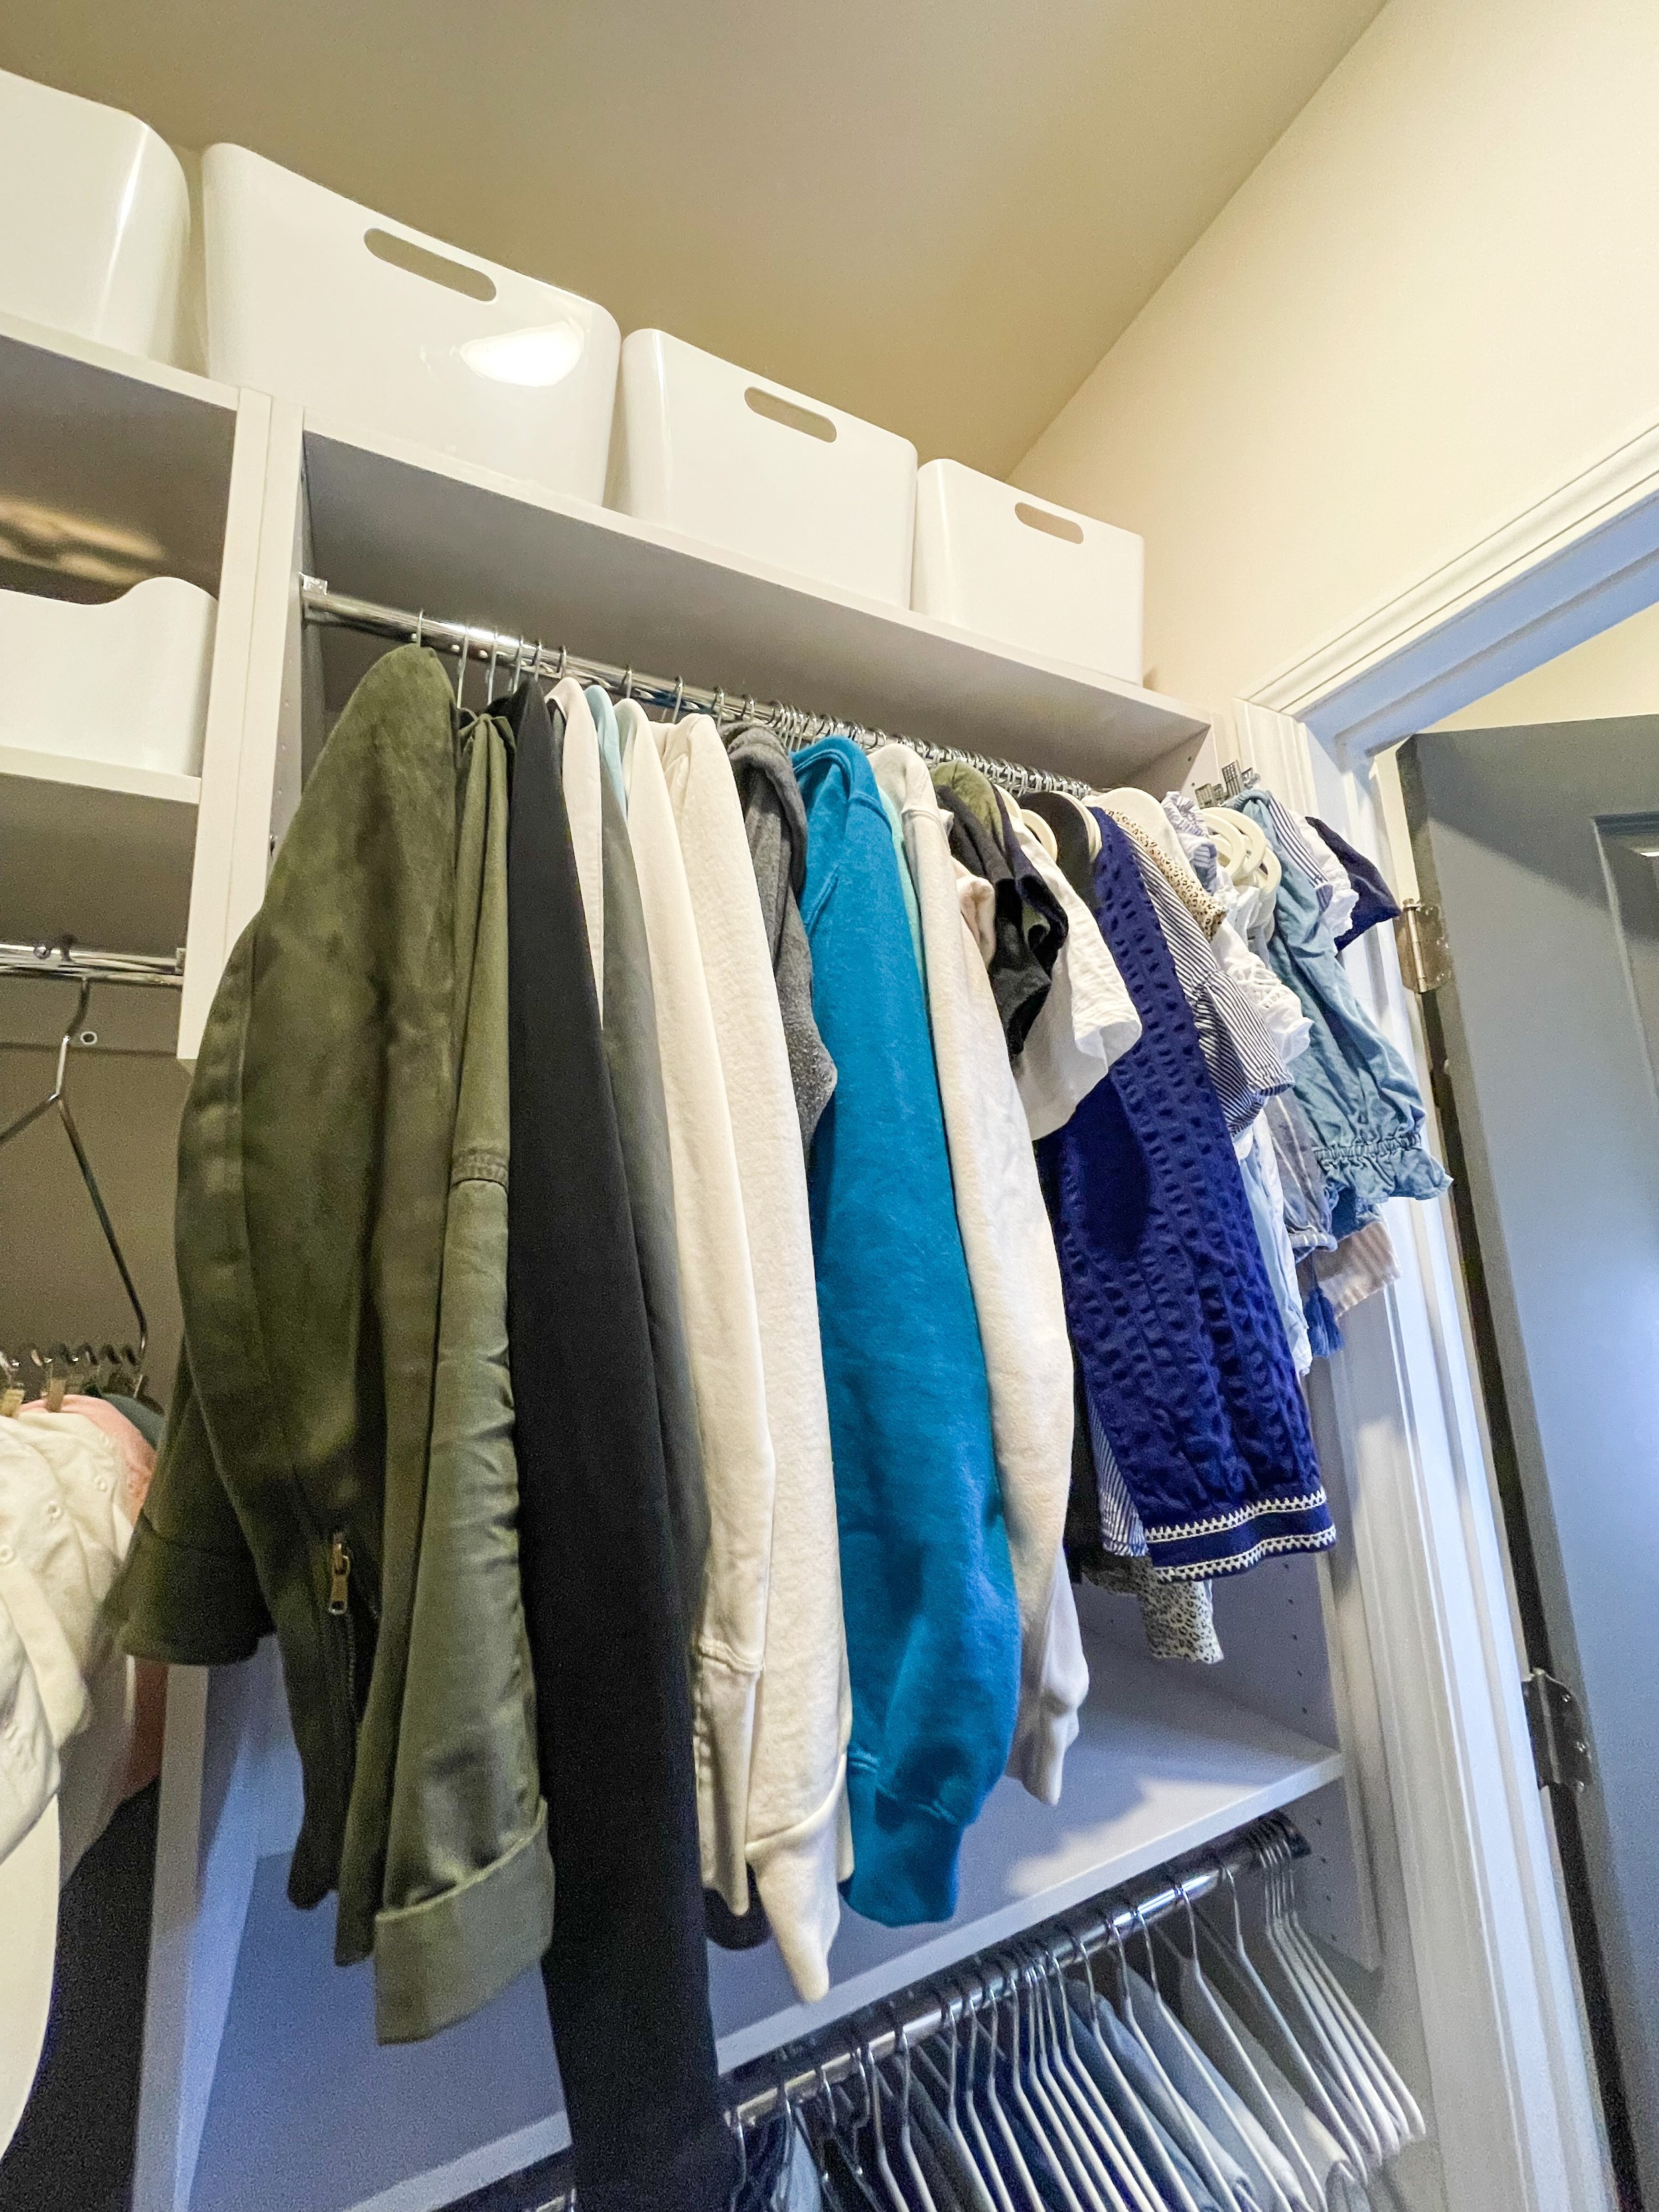
Inside each of the bins are the things I don’t reach for super often like sweaters, shapewear and fabric care. I was tempted to label them and may still even if I swap some things out (i.e. the sweaters come down next winter and summer tops go up) as I can just turn the bins around and label the other side. But I wanted to live with it a little bit to make sure it works for me before dragging out the Cricut machine.
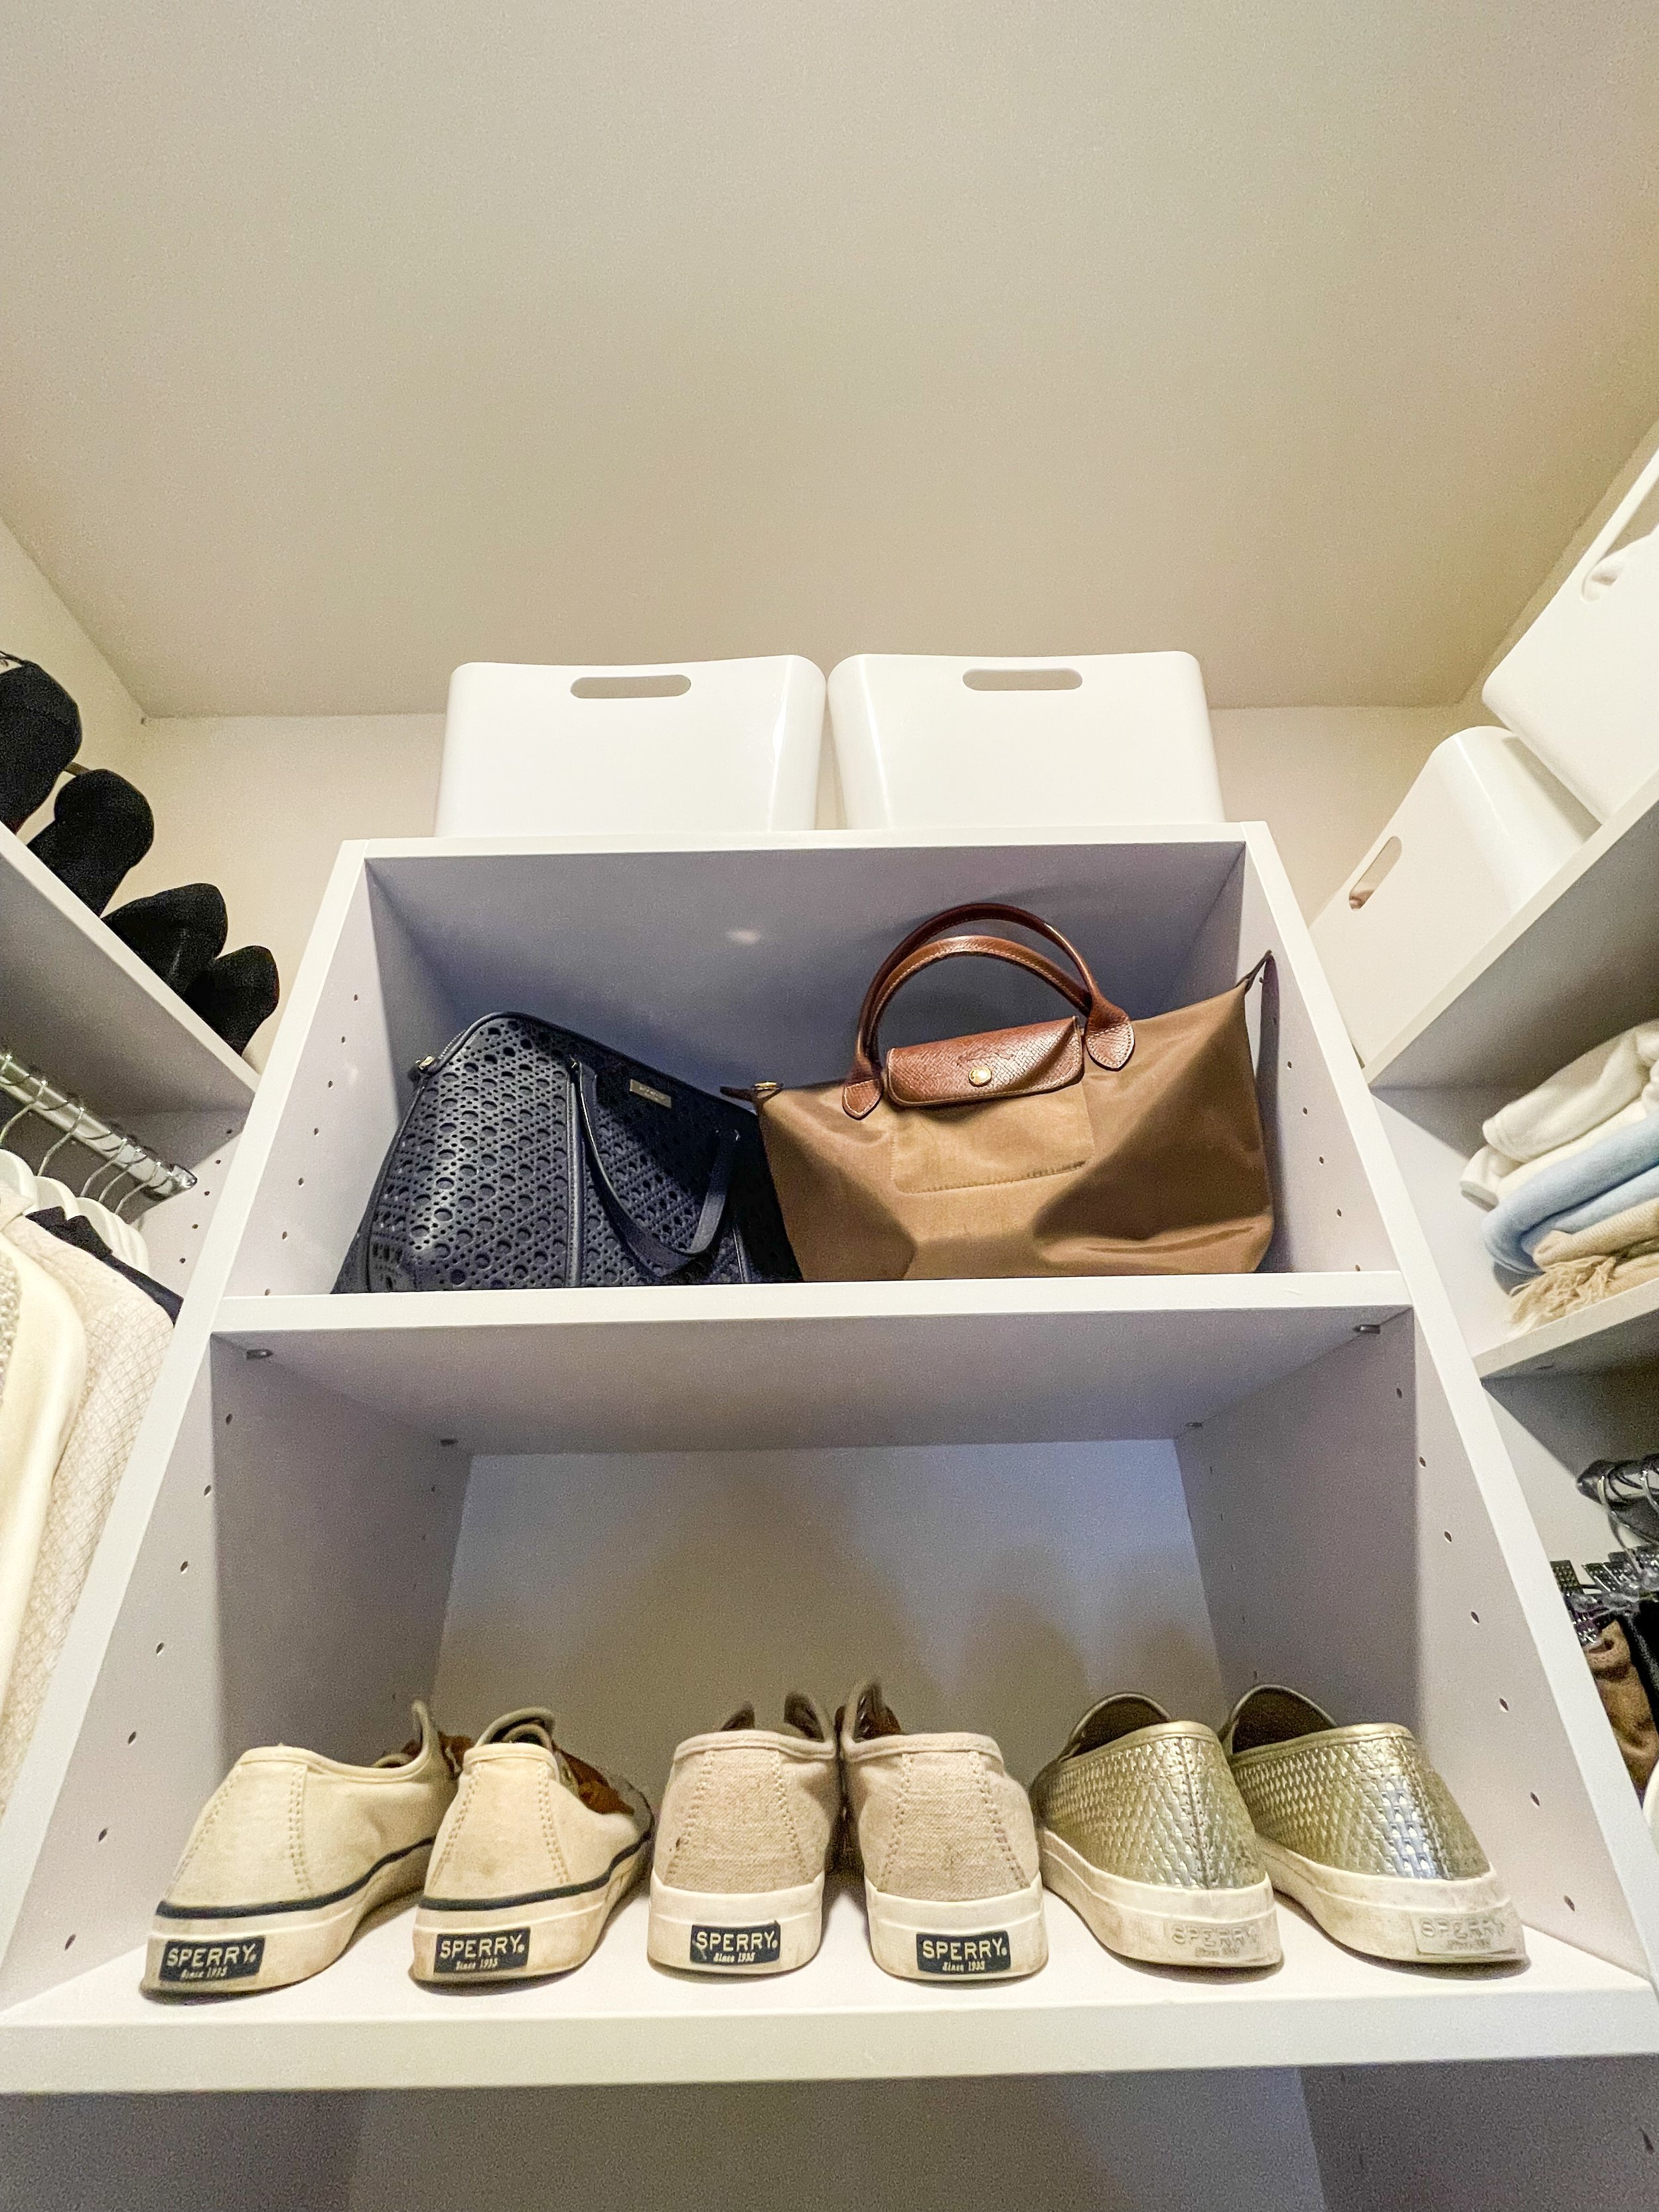
BAGS
I don’t have very many bags at all so the couple of handbags were placed on a high shelf (with some stuffing to keep the Longchamp upright) and clutches were separated into two medium white bins - one for year round and the other for summer specific.

For clutches, I either recommend file folding them into a bin like I did or using an acrylic clutch divider. The former option is best if you want to hide any visual clutter, the latter if you want to show off your bags boutique style.

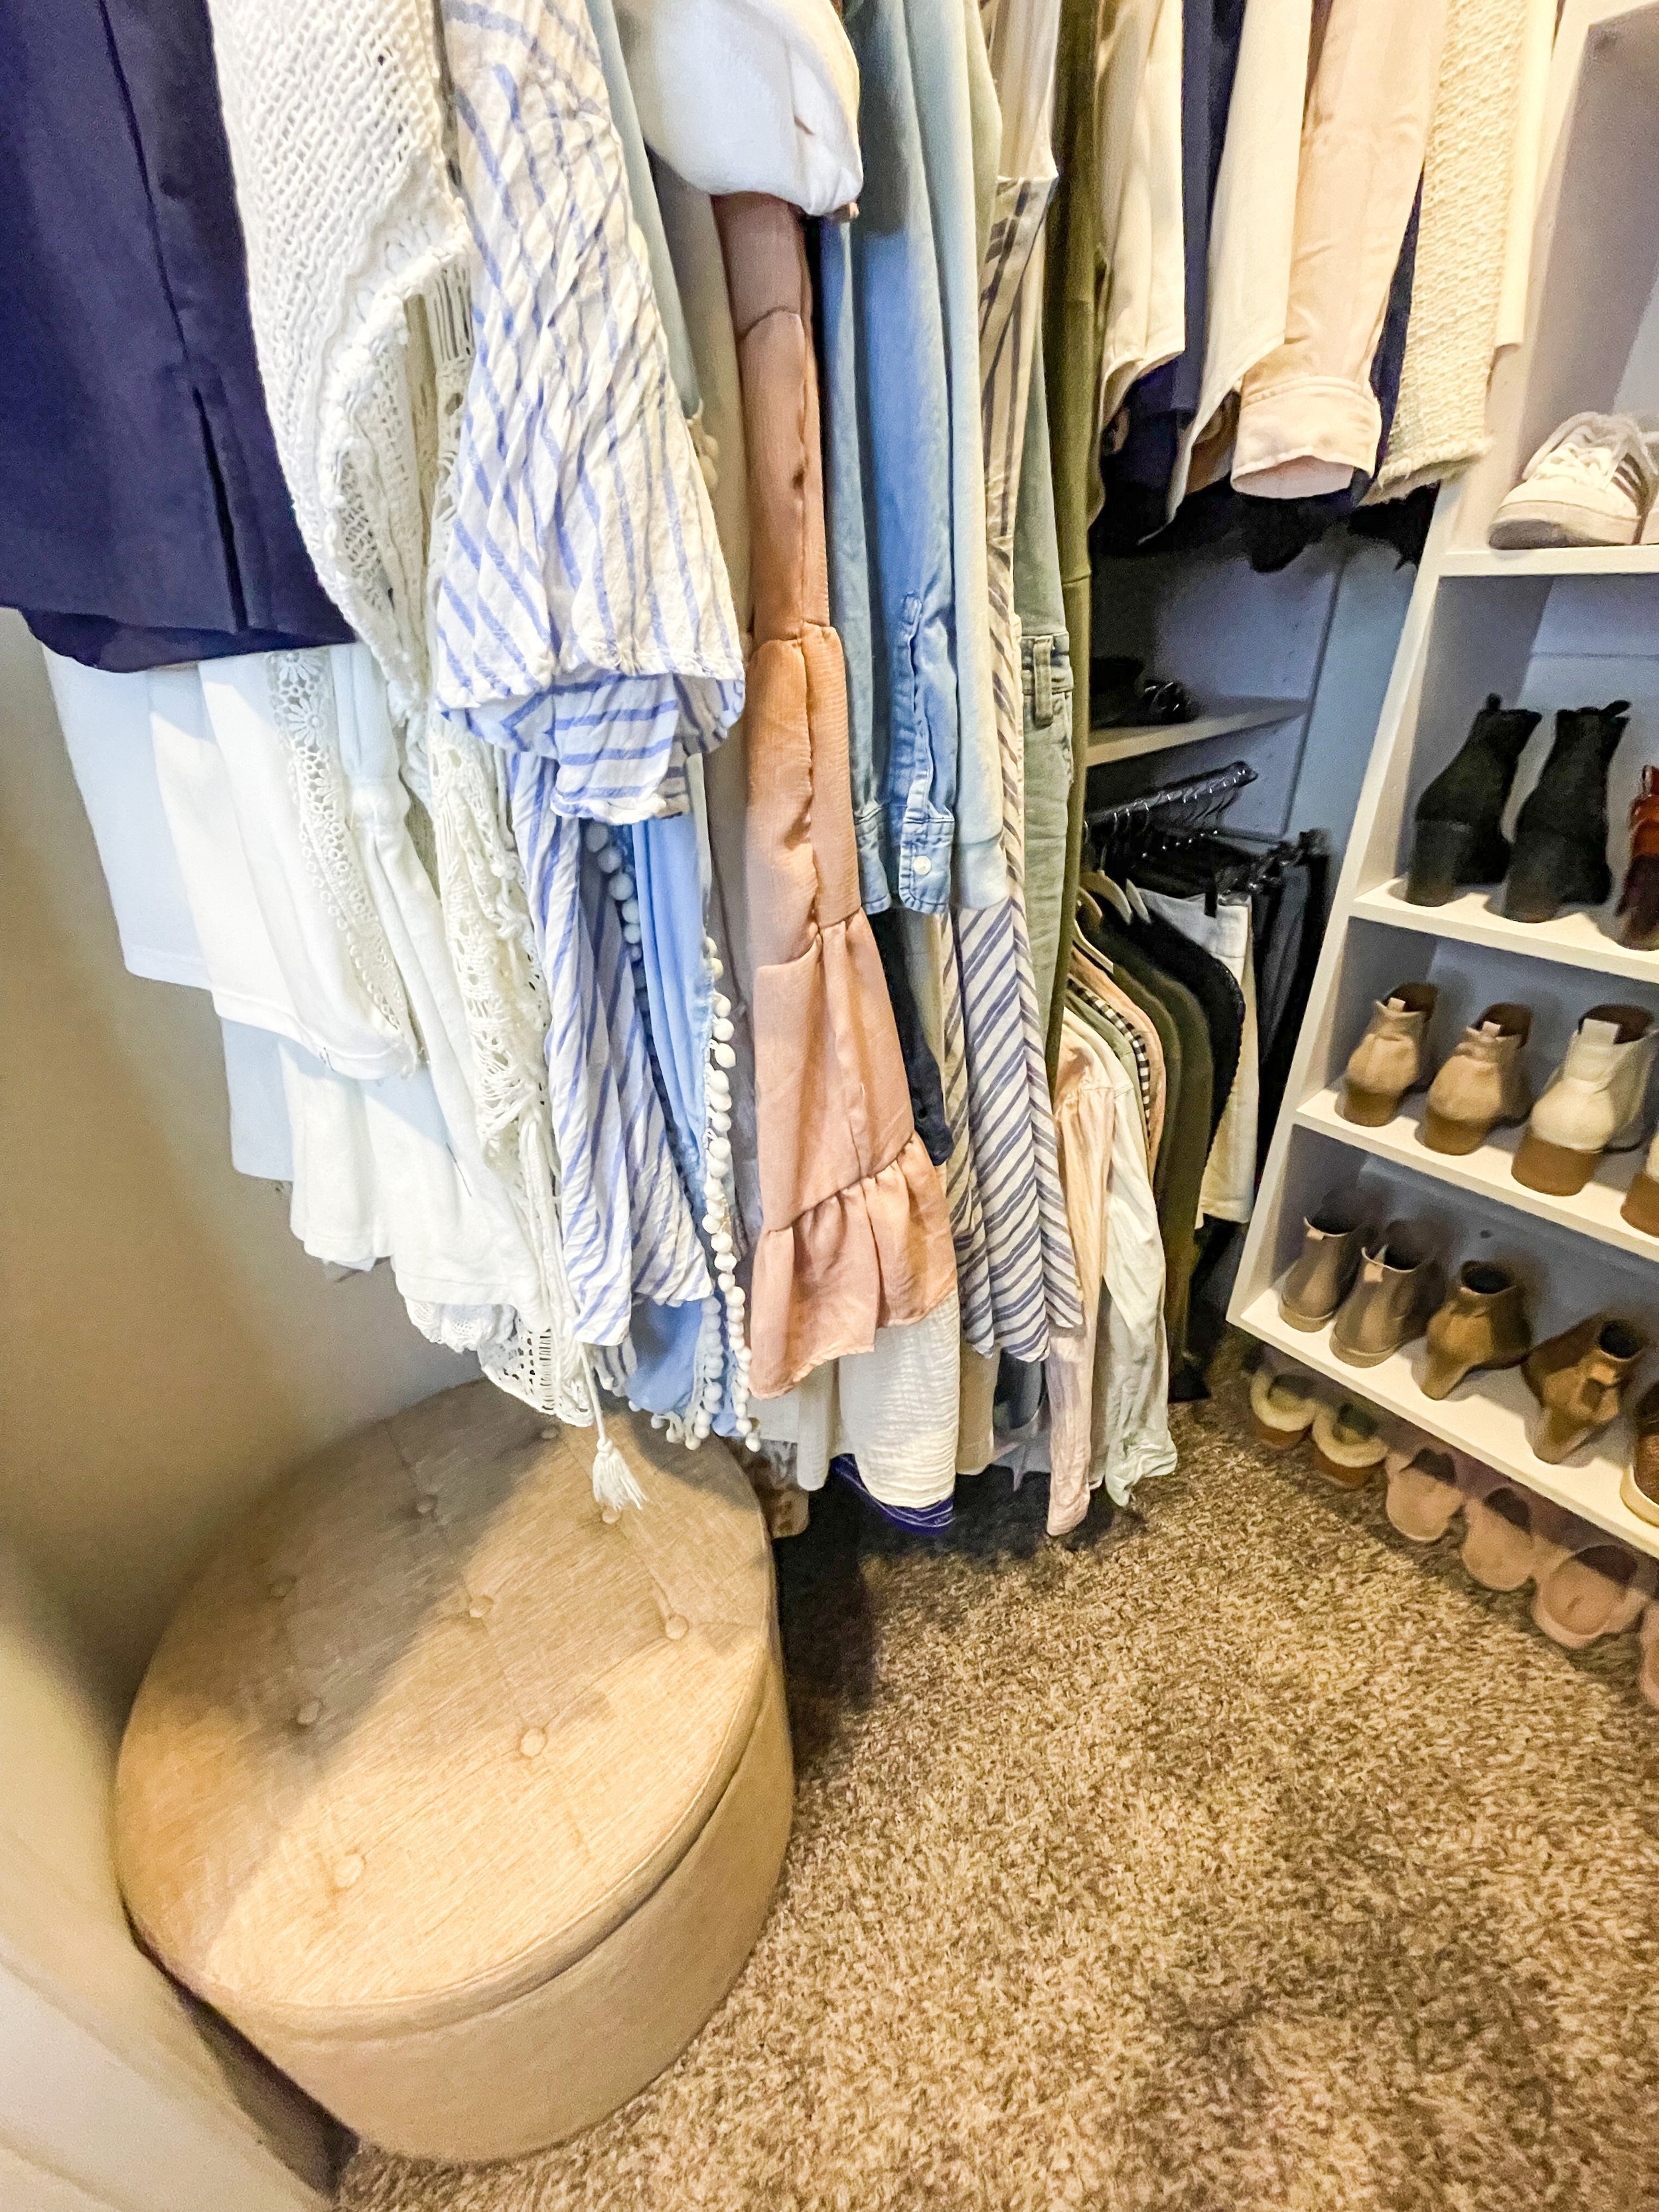
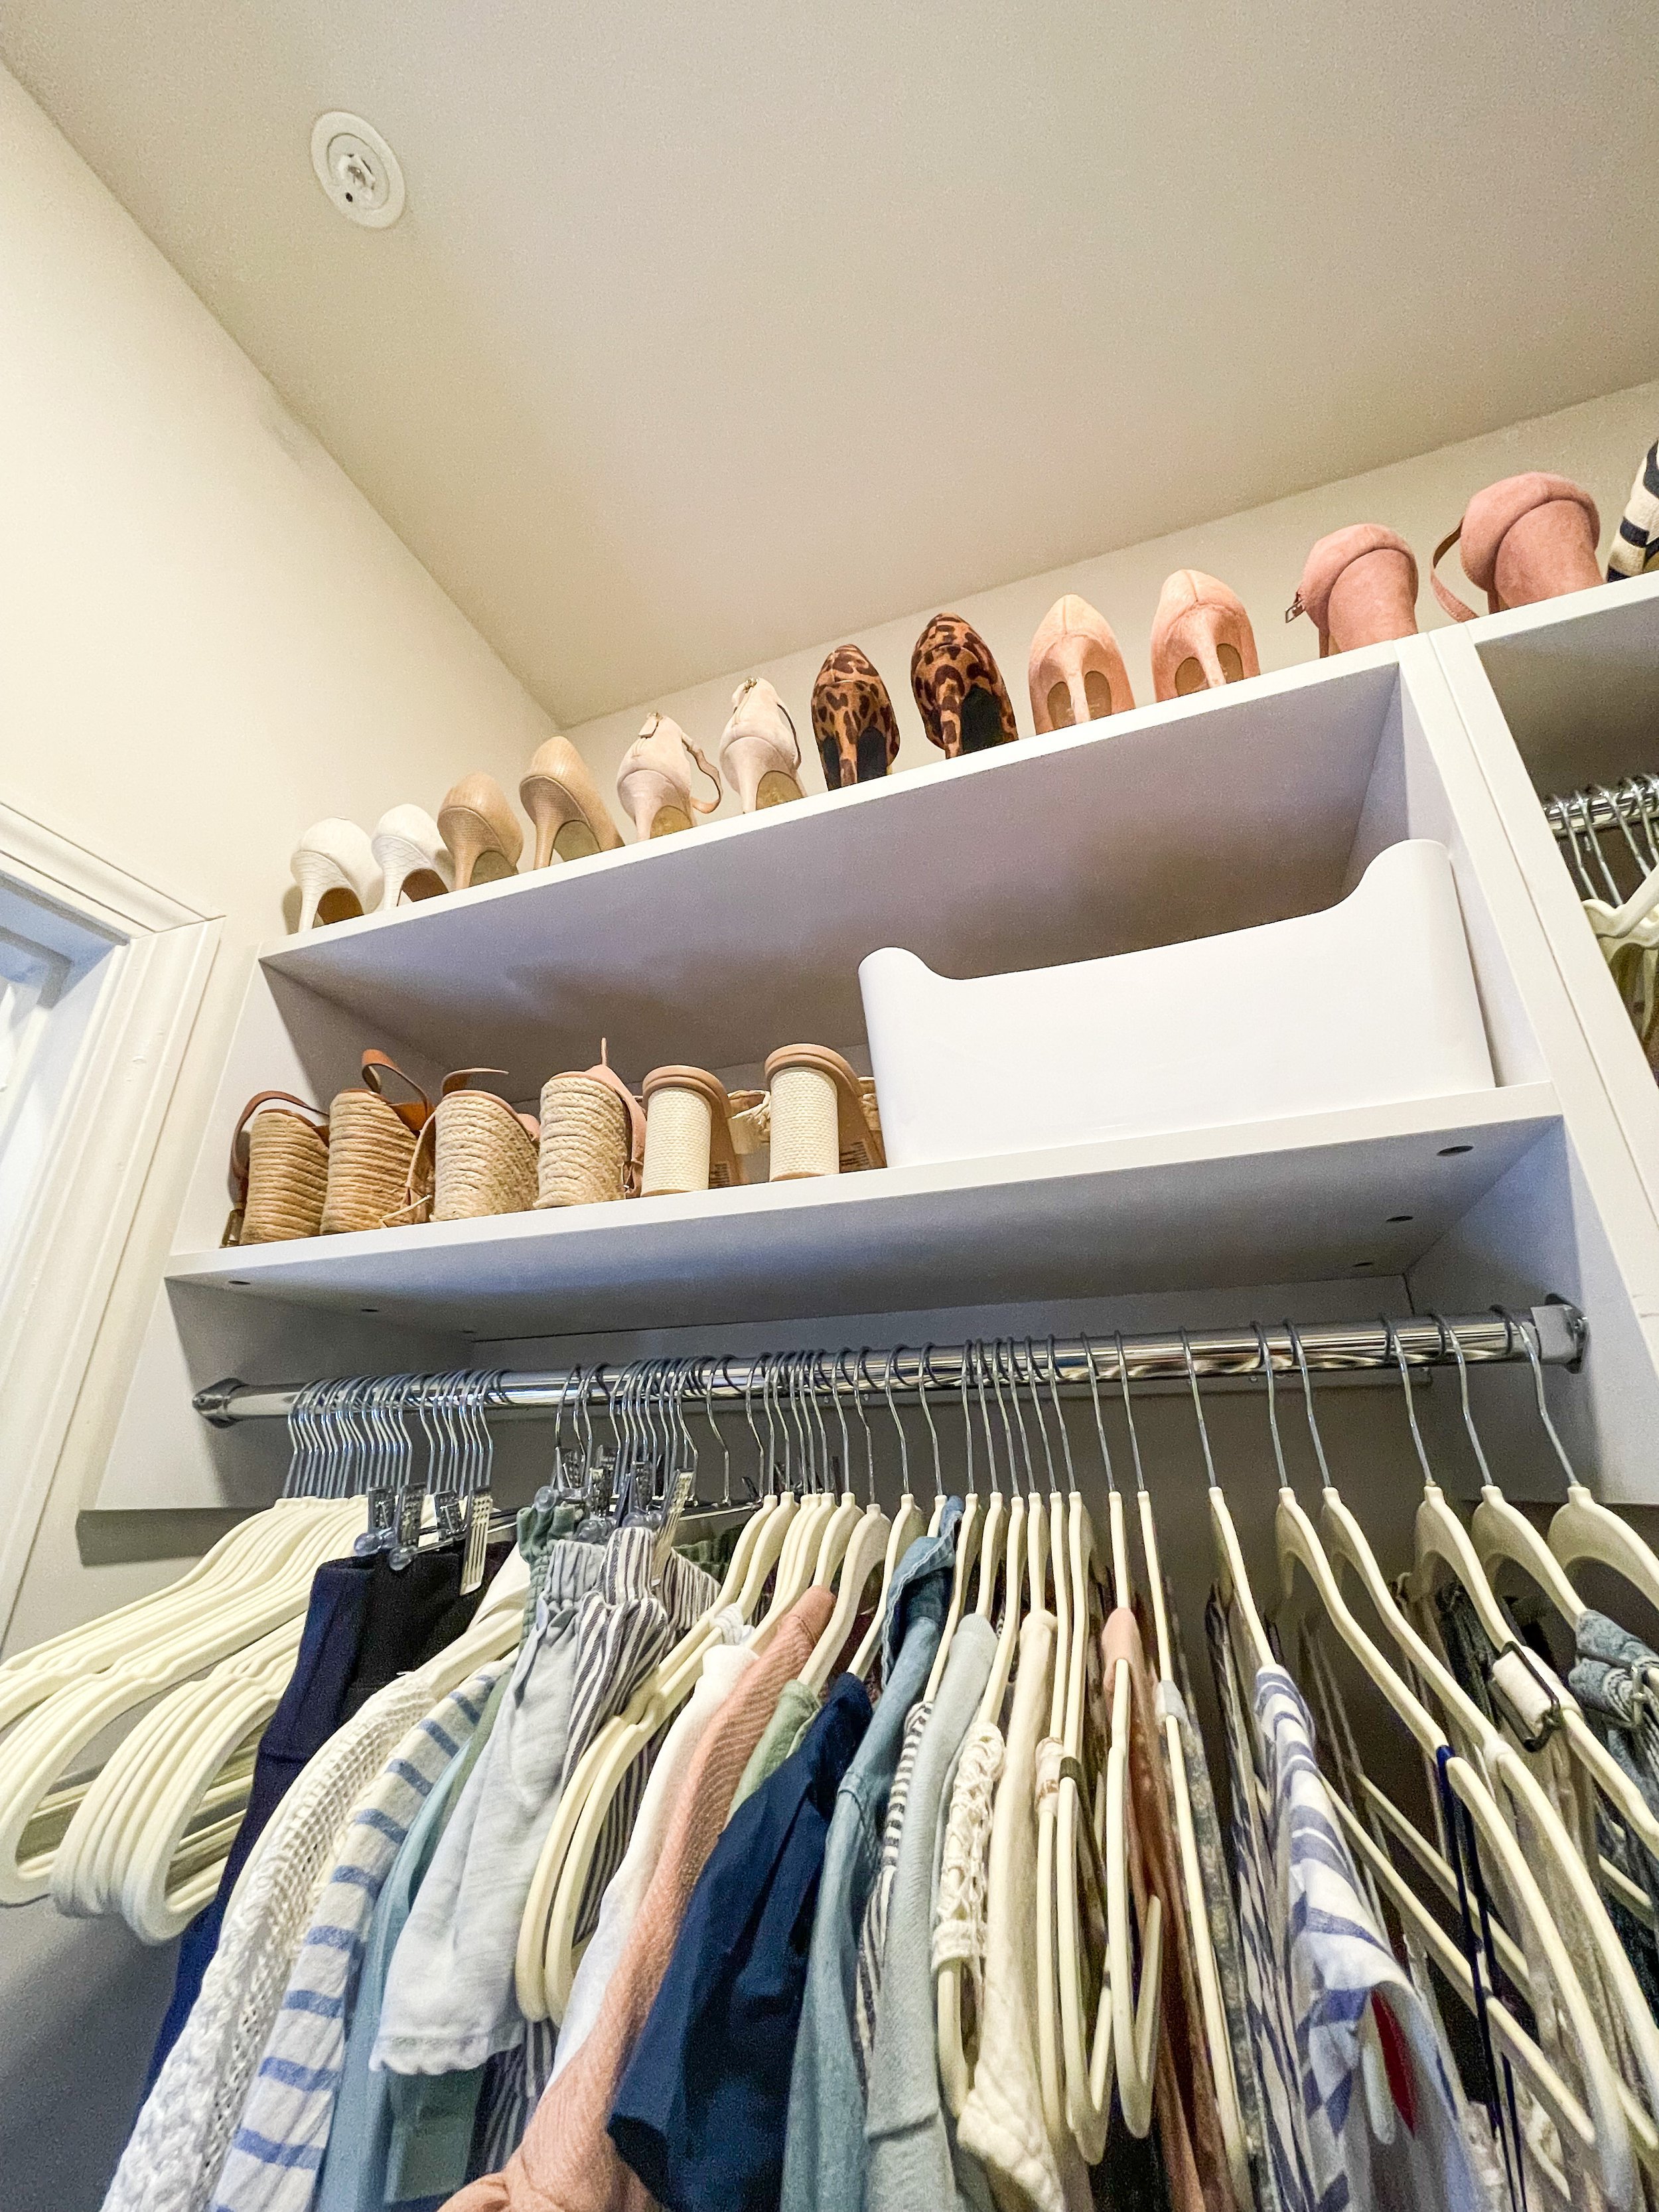
SHOES
For shoes, I kept it simple and used the shelves to place them, separating by type. You’ll notice that most of them are facing forward which is the look I prefer when organizing shoes like this. But one row of sneakers has one shoe facing forward, one backward and that’s because they were a little too tight all facing the same direction. This is a sneaky (pun intended) trick that us pro organizers use when we need just a tiny bit more space on a shelf or a shoe rack. Here’s a reel demonstrating how to do it yourself!

For my flats and flip flops, I’ve had this shoe ottoman for years (and yes, it’s still being sold!) and while mine is admittedly falling apart a bit on the inside (the 8,000 moves I’ve put it through probably did it lol), it’s still totally functional and would 10/10 buy it again! Here’s yet another reel showing it off back when I used it for my sneakers.
Btw, one of my favorite furniture brands, Safavieh, sells a similar one and it’s on a crazy sale right now!
Many of my clients would either rather have their shoes in boxes (especially the nicer ones) or they have space to stack them/need to stack them because space is tight. One of the only tried and true methods that I would use for myself and them? Drop front shoe boxes with ventilation like these.
Avoid using closed boxes without any holes for your shoes to breathe (they can get moldy, trust me, I’ve had it happen) and ones that don’t have a front opening to avoid disrupting the whole pile. There are cheaper options on Amazon but many of them are flimsy and you have to assemble the box itself. If you don’t mind that part, these are ones I’ve used for clients before and are pretty good quality.
If you’ll notice, I don’t have any extra space for another pair of shoes. And that’s one of my secrets to staying organized. If I want to buy another pair of shoes, I don’t just buy a pair and then shove them somewhere. I have to either get rid of a pair (the good ole one in, one out rule) or think of adding another system i.e. a small rack on the floor. There’s a lot of intention I put into not just the systems I create but also the maintenance of it which could be a blog post in and of itself. And now I may just have to write one ;)

HATS
For wide brimmed hats, I used the same hooks in my bedroom as I did in the last one near my dresser. But baseball hats are kept in the closet and contained to this one hanger I found from Target. It holds 10 and I’m pretty obsessed with it and how it looks/functions! Oh what? You want to check out yet another reel with a demo? Go for it.
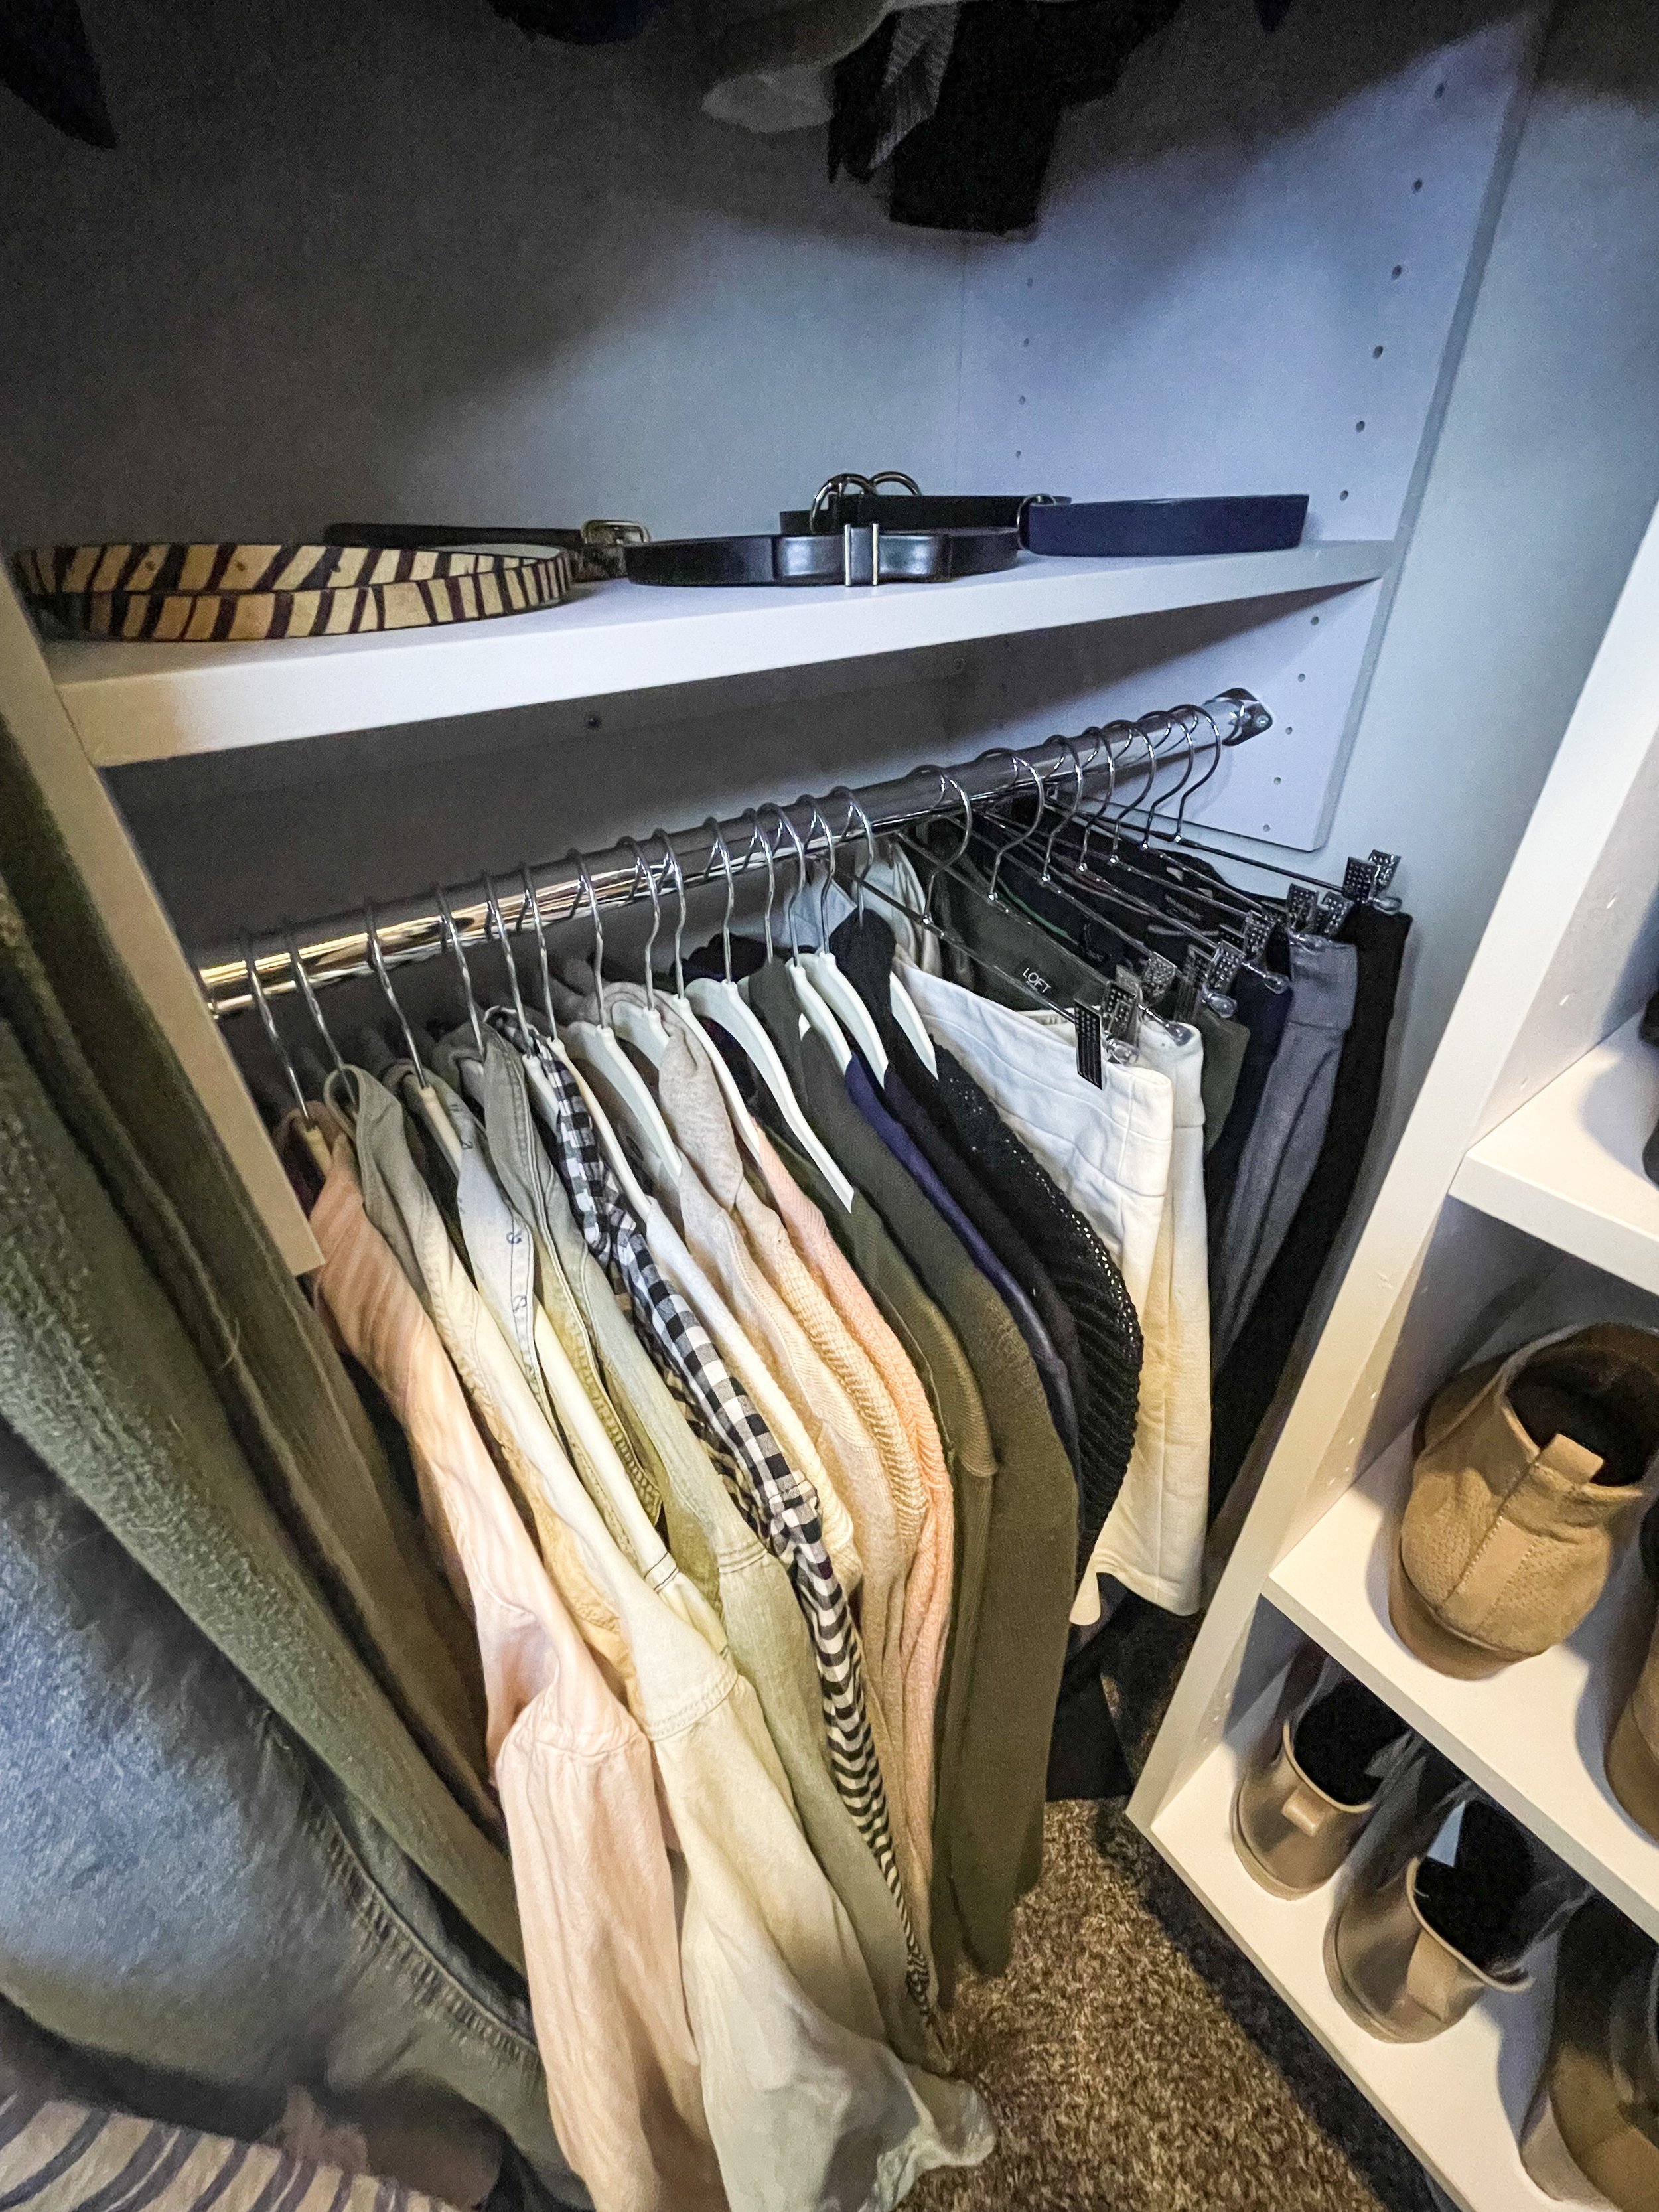
BELTS
Nothing too exciting here. I only own 4 belts and honestly, wear them so rarely that I’m tempted to toss them! In the meantime, I simply rolled them and spaced them out on a shelf, out of the way. If I had space on the hat hanger, I could have added them there or used a belt hanger like this or a stand like this or this.
Sooo. That’s my master closet and I’m honestly over the moon with how it turned out! Getting dressed every day is so easy now that everything has a home and because of how matchy matchy it is, it actually motivates me to keep it this way.
Since I dove into a lot here, I decided to do another post very soon breaking down my top 10 closet organizing tips so keep your eyes out. And don’t forget about my closet organization masterclass being released 5/2/22 (which you can pre-buy at a discount now!). I also have an all inclusive masterclass called Get Organized Like a Pro available on Etsy if you’d like to check it out. I detail my exact 8 step method to get any room in your home organized like a pro would.
I hope this inspired you to give your closet a little facelift (or a total makeover if it needs it). See you again soon!
*Disclosure: I only recommend products I would use myself and all opinions expressed here are my own. This post may contain affiliate links that at no additional cost to you, I may earn a small commission.